What You Will Need
Rack
Another headache rack like the one that comes with your Acty
1” x 1” 6ft square steel tubing x 5
3/4” flat steel bar x 2
Brackets for mounting rear rack
(Optional)
Tarp Cover
Lighting
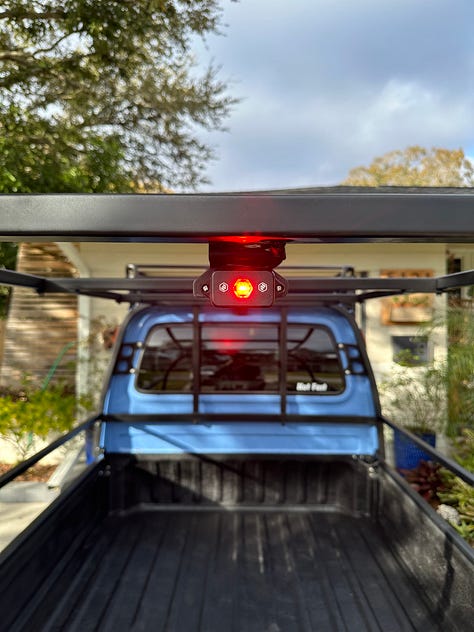
Baja Designs rock light (red) for brake light
Amber LEDs for pillar running lights
Intro
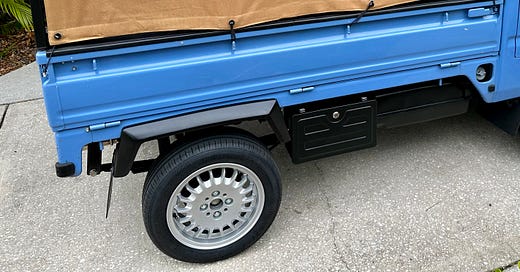
I’ve always like the look of military cargo trucks with canvas covers so I decided I would attempt to turn my Acty into something inspired by that. Luckily, most of these trucks come with a headache rack behind the cab so we’re already part of the way there. Just a matter of getting second rack for the other end of the bed, a few square tubes, and some elbow grease.
Rack
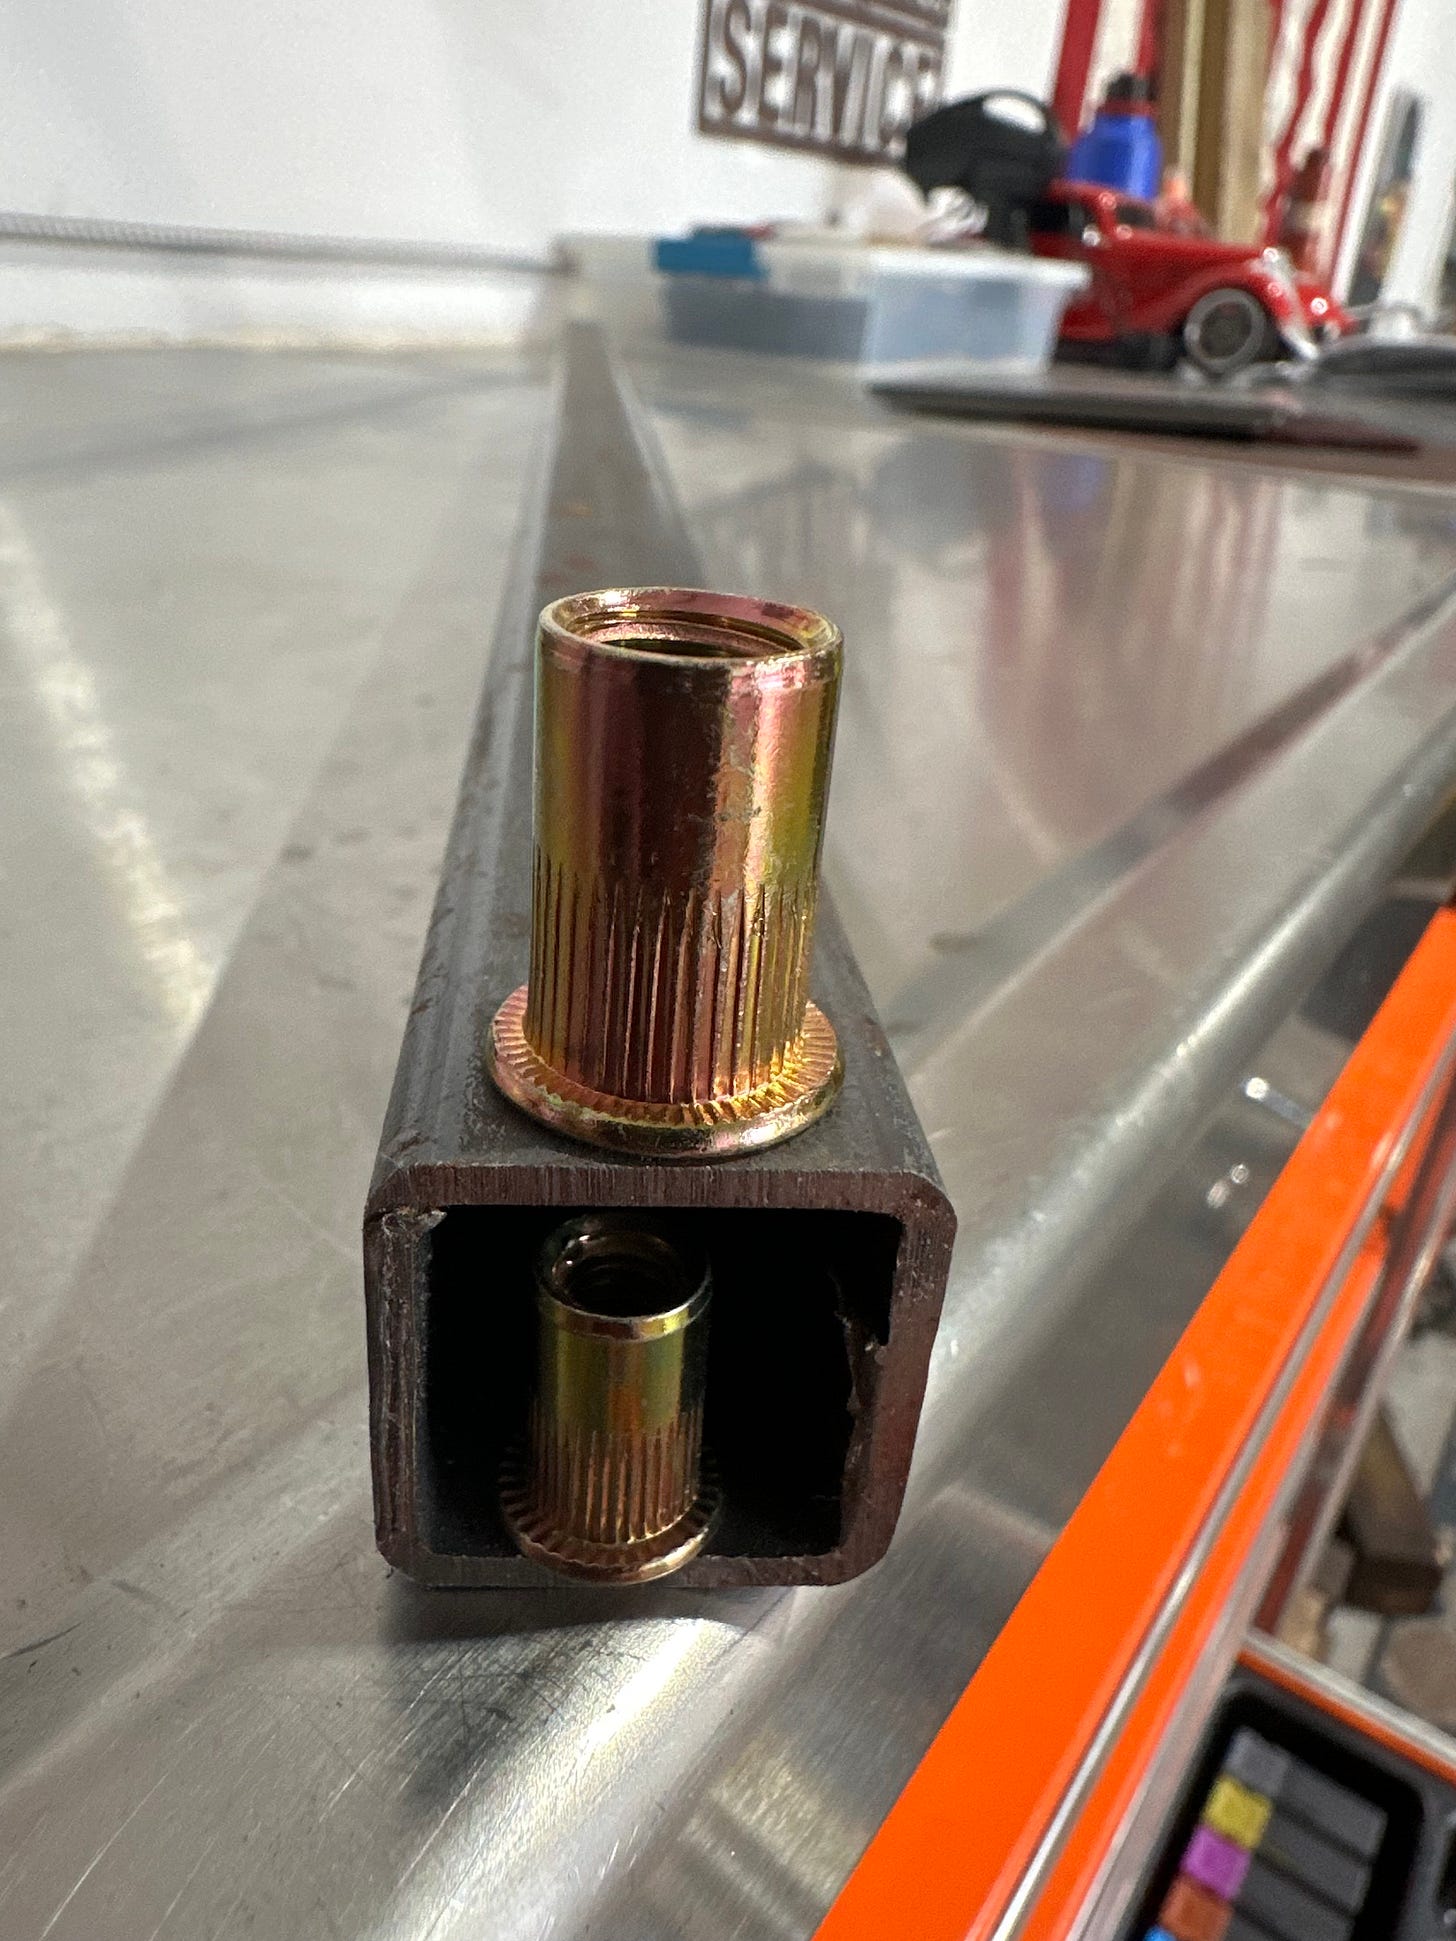
In addition to the extra headache rack, the build consists of four 6ft 1x1 steel tubes (they may need to be slightly cut depending on your measurements - don’t assume anything) and two smaller tubes measuring 32 inches as crossbars on the top. You could weld this whole thing together as one piece, but I went for the dismantle-able option in case I ever wanted to take it off and not have to figure out where I’m going to put a giant steel cage in my garage.
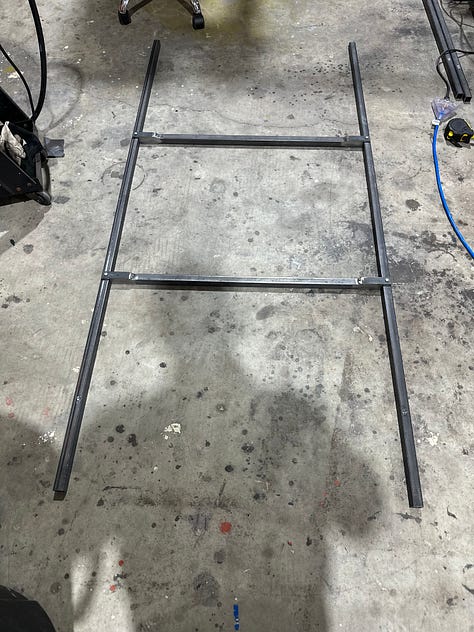
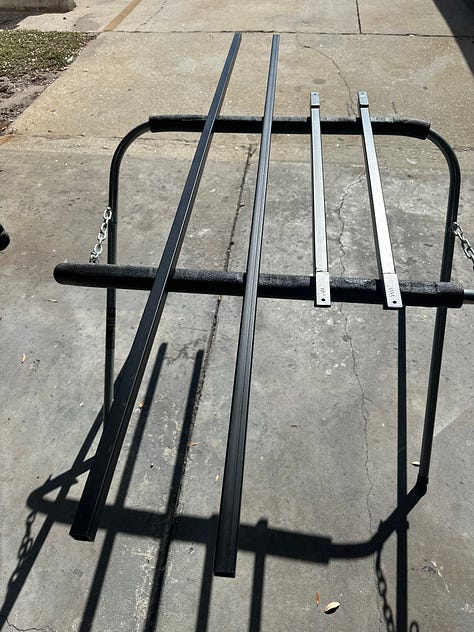
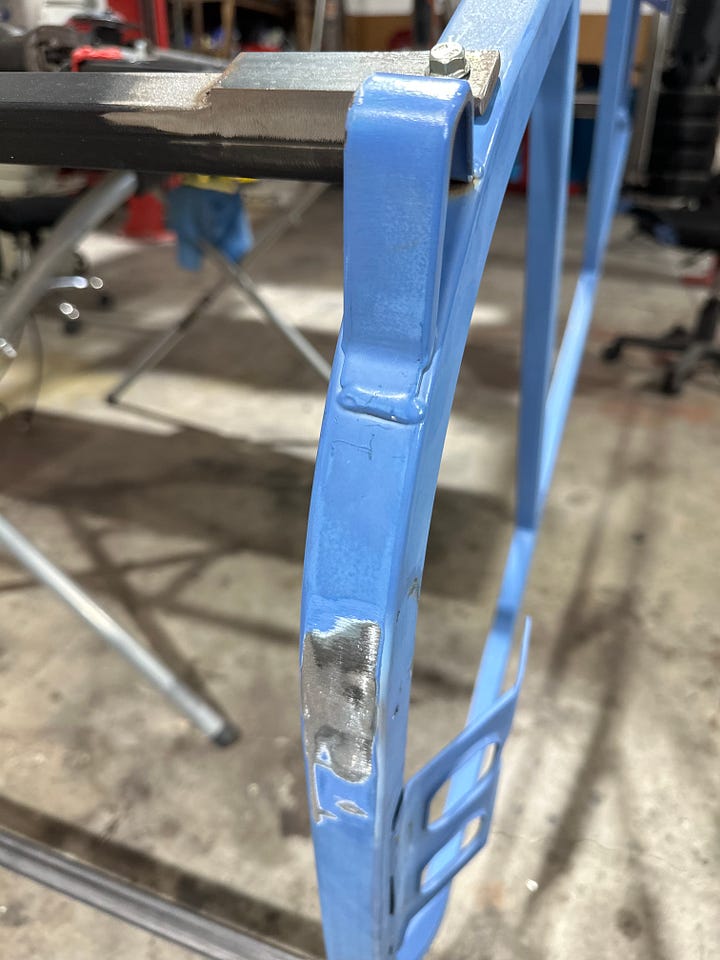
Given that decision, I decided to weld small strips of steel to the ends so I could bolt this all together using rivnuts and bolts.
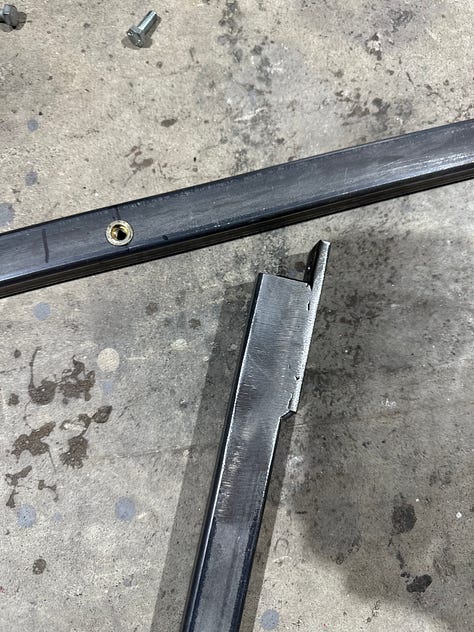
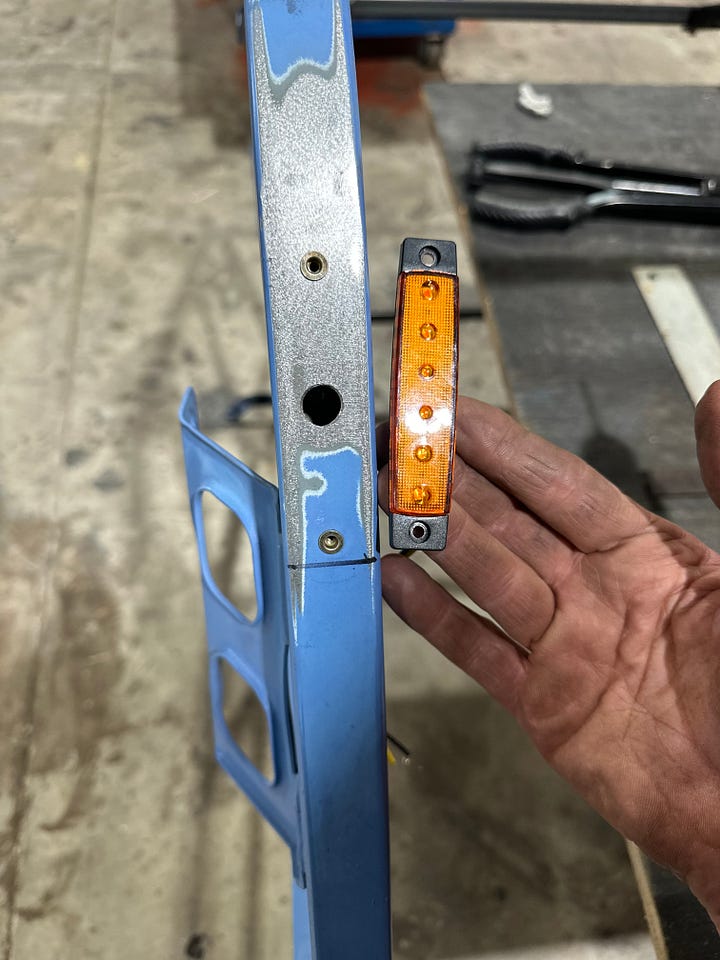
Preparing the extra headache rack is pretty simple. Just cut out the interior tubes and leave the outside ring. I opted to also remove the hooks on my original rack and the extra one because they were in the way of where I preferred the amber running lights. See the images below.
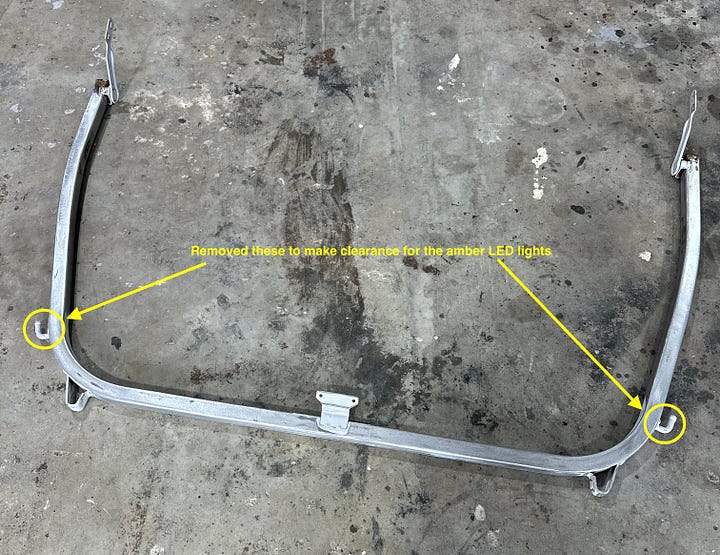
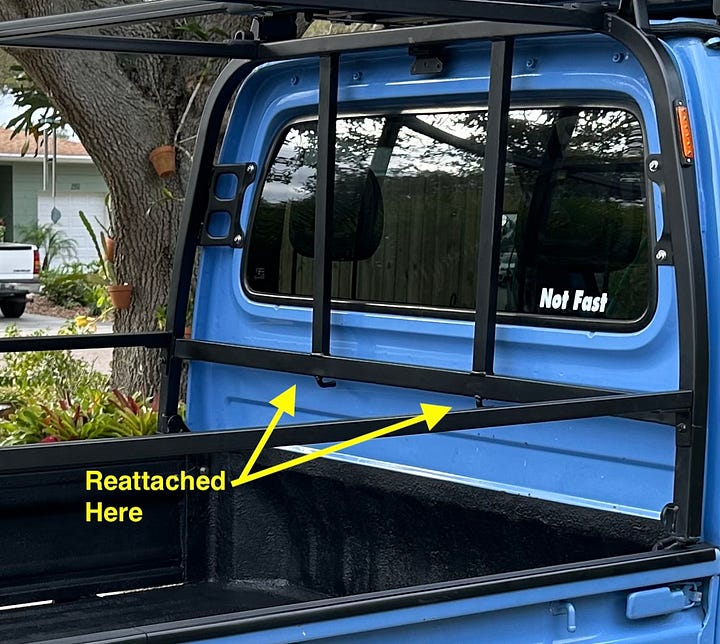
For mounting the extra headache rack on the rear, I created a quick detailed video on how to connect it to the side gate here. its much easier to follow than explaining it in text:
Tarp
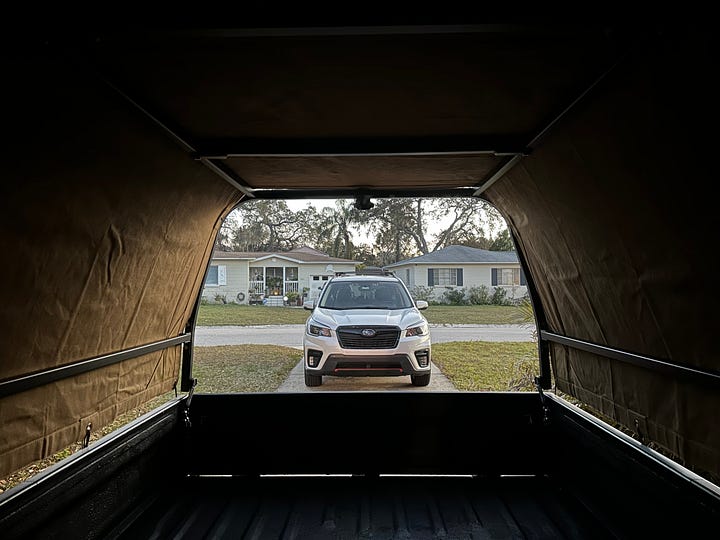
I decided to go with a tan water resistant canvas tarp because it’s super durable, has the right look I’m going for, and I think tan looks the best contrasting with my blue truck.
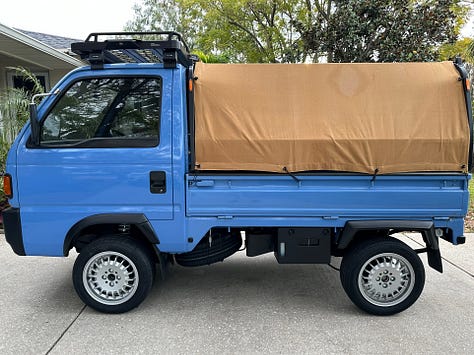
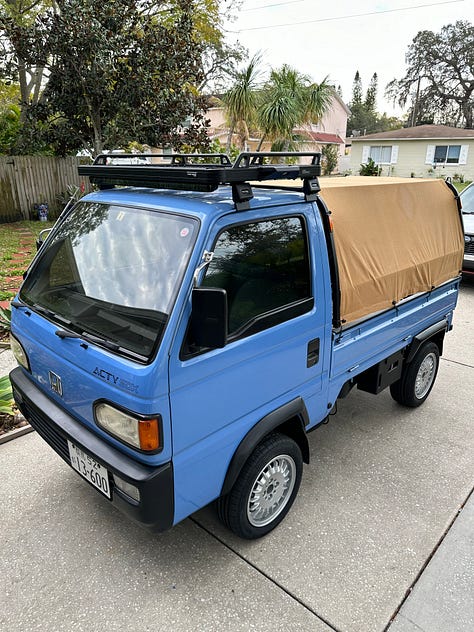
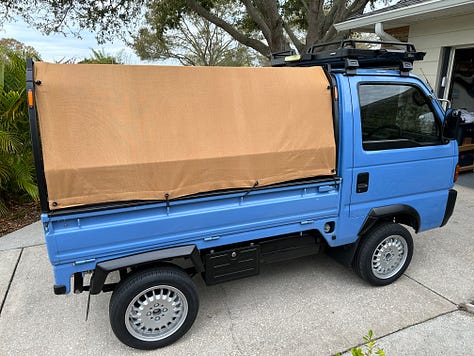
I originally got a 7x9 tarp which turned out to be a touch too big. I think the lesson here is being a little on the smaller side works out better than being big - more room for error that way.
Tip: Iron the tarp with steam before using it so it’s not all wrinkly when you tie it down.
Tying it down was relatively simple. I used bungie tie downs and cut them down according to what size was needed to reach while keeping it nice and taut.
Lighting & Wiring
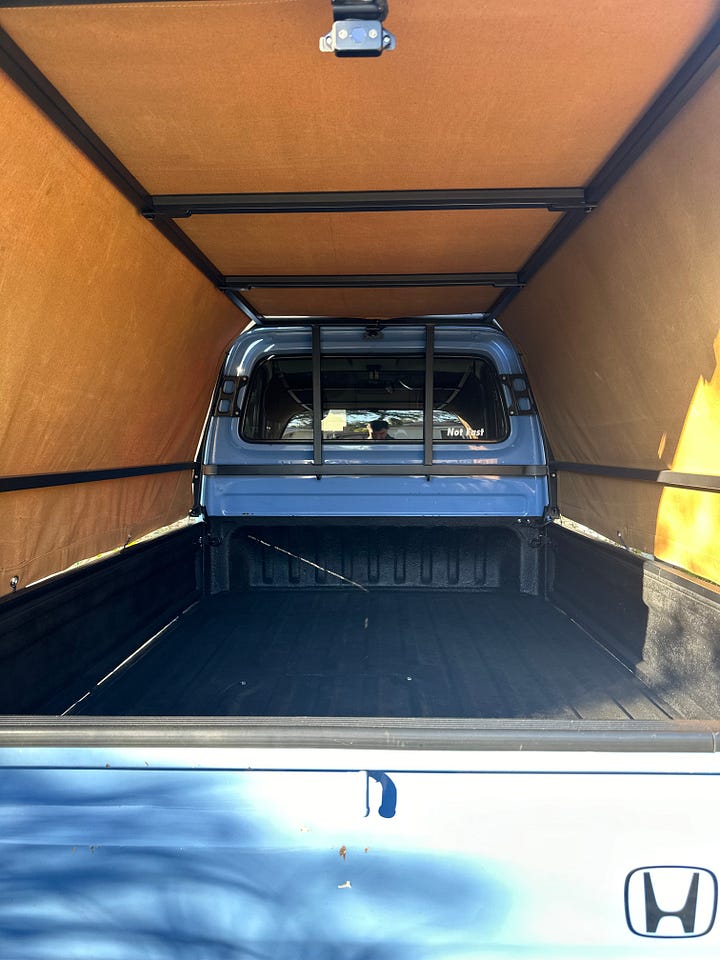
16 gauge wire is more than enough to power the four pillar lights and the 3rd brake light. I ran them inside the tubes so there would be no exposed wiring. In fact, the only exposed wire is the connection plug near the cab. I made it this way so this rack could be easily removable if I ever need to go back to having an open bed. That plug pops out of the bottom and sealed with silicone and heat shrink and can be inserted into the mounted plug socket. That socket is wired through the center console and connects to the proper connectors for the running lights and the brake light signals. One wire for each and no need for ground since we are grounding to the rack itself.
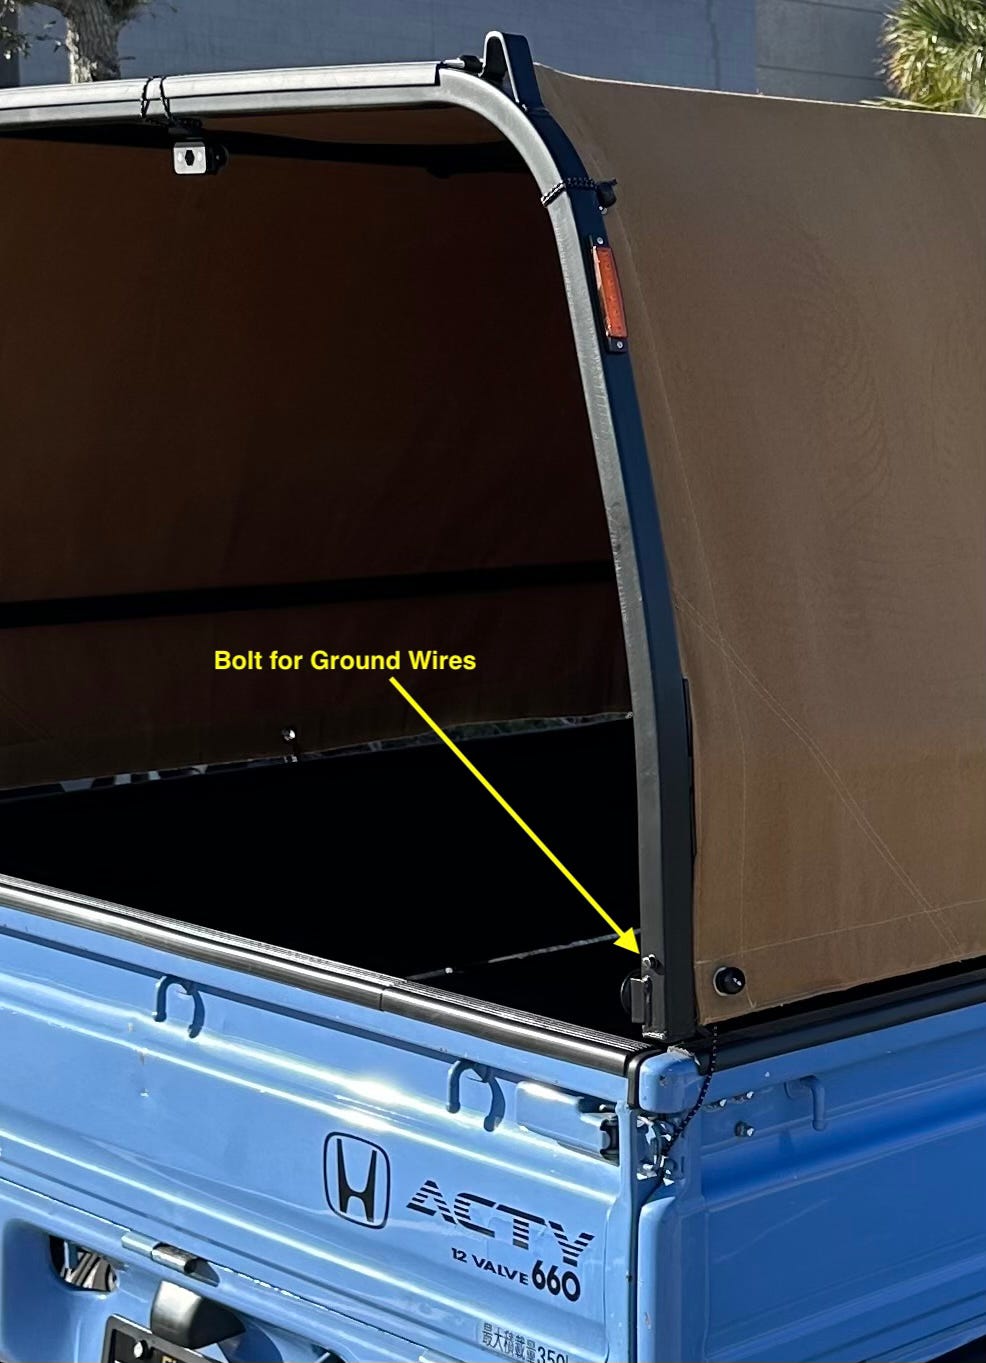
For the sake of not having to run ground wires from all the lights, I decided to ground them to a bolt at the bottom right of the rear rack (pictured below).
The pillar lights are a simple flat LED strip set from Amazon. Nothing fancy but it gets the job done and easy enough to replace if they ever die or I get a dud.
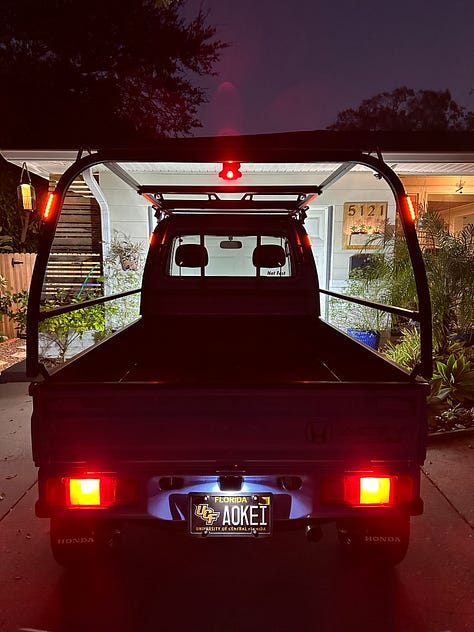
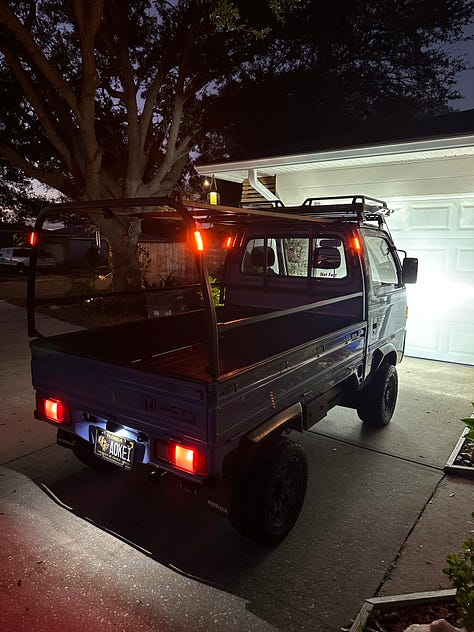
Finished Product
This project took me a decent amount of time to complete but I’m really happy with how it turned out.
Here’s a quick walk-around showing the completed rack and all the lights:

