Undercarriage Toolbox
Difficulty: 4/10
What You Will Need
Intro
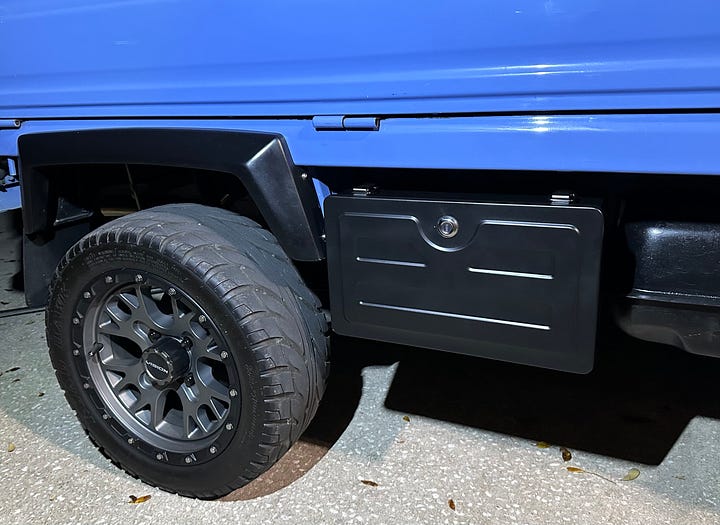
Given that the defining feature of these trucks are that they are small, I’m of the mind that every square inch of space that you can add for storing something adds a ton of value. One of the first mods I did after buying my truck was a 50cal ammo box that mounted in front of the driver side wheel well. It worked pretty well, but I didn’t like the way it opened and as a result it made closing it very fidgety and unsatisfying.
I was always jealous of how Suzuki, Mitsubishi, and Daihatsu had optional undercarriage toolboxes that were lockable and air/water-tight. After searching for aftermarket options in the U.S. I quickly found that most things were too big, and too expensive. So I thought, “what are the chances one of those from the other Japanese trucks would fit where my ammo box is?”
As it turns out, of the two Daihatsu options, one of them had some promise…
We Found A Winner
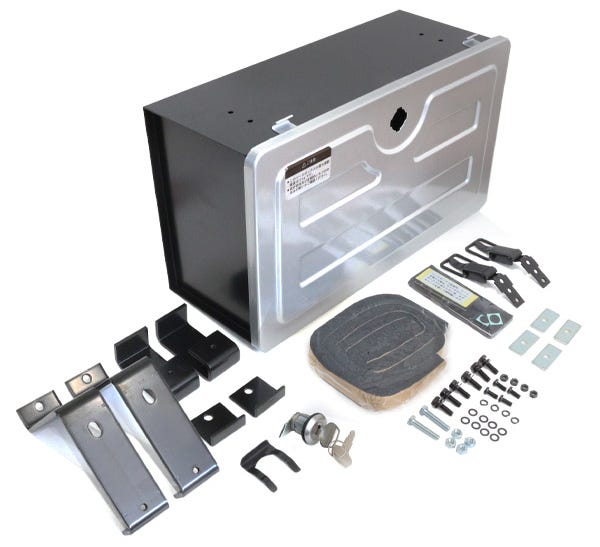
S200P - This option comes only with silver lid, but painting is easy enough. Dimensions are 8.75" tall x 13.9" wide x 6.3" deep. Considering the space between the Fuel tank and the rear wheel fender this just barely fits (after a slight modification).
Mounting
The kit that comes with the box is really nice, but unfortunately the brackets were just not useable since it’s expecting a newer Daihatsu frame as the mounting location. So this leaves us with the option of making our own brackets.
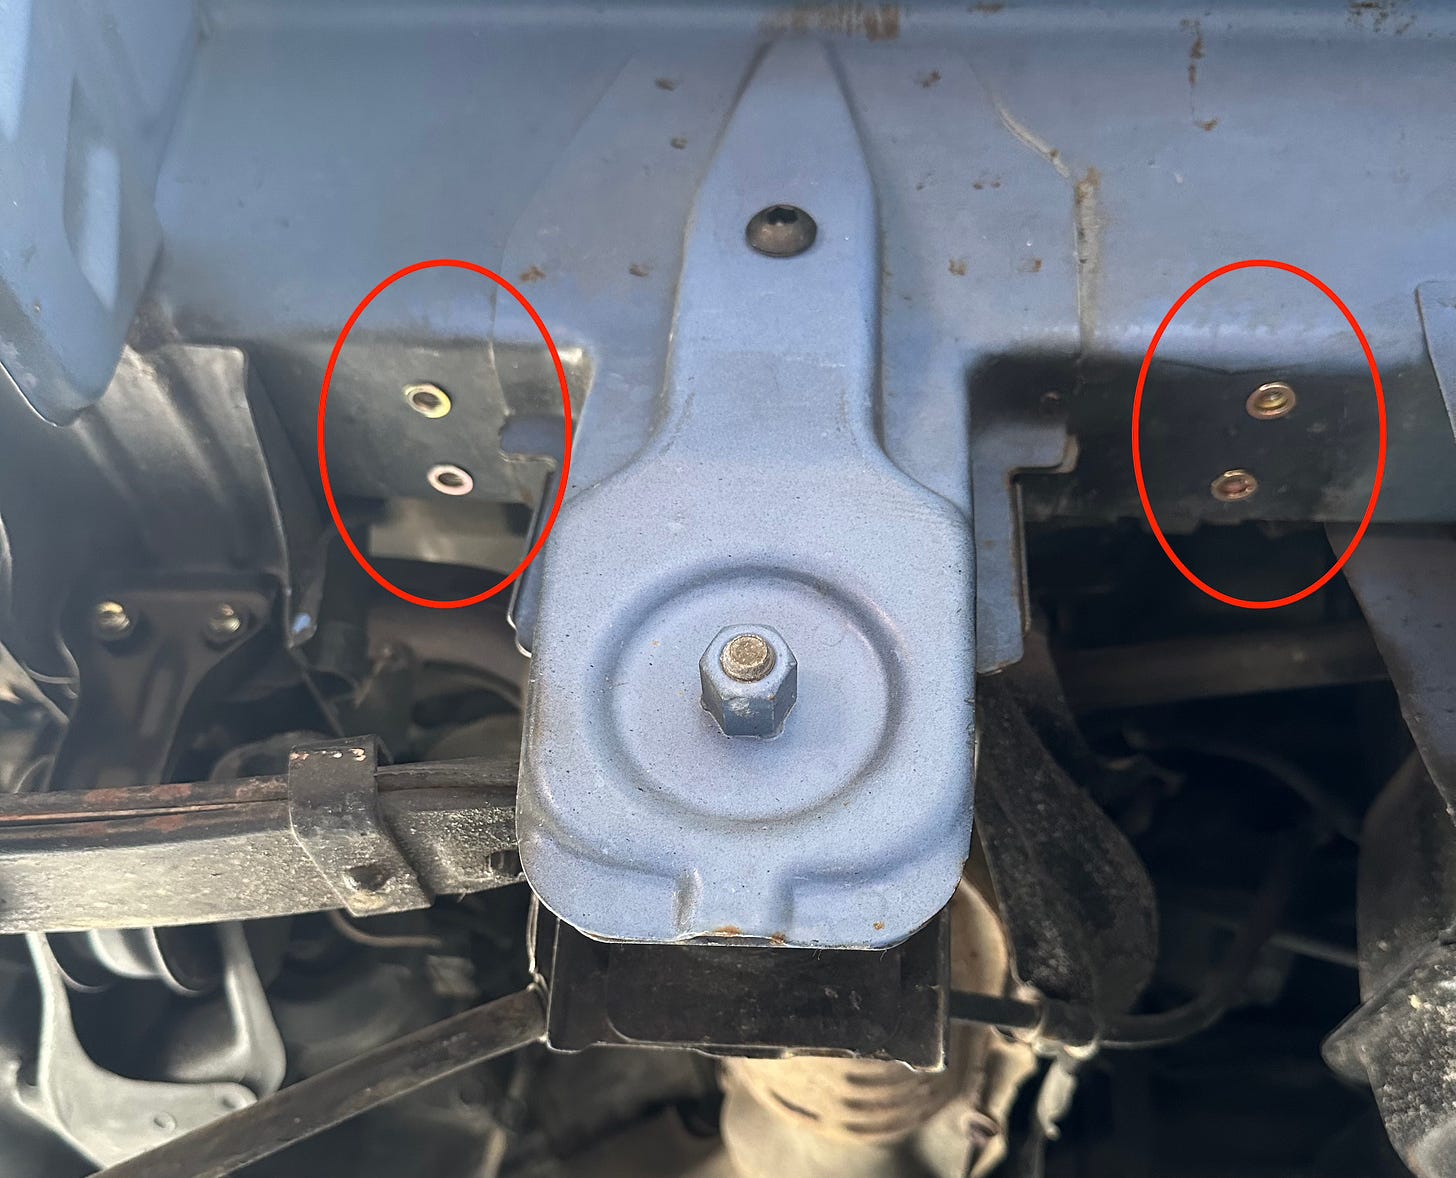
The good news is that there is enough space on both sides of the leaf spring mount that two simple L-shaped brackets will do the trick.
You will want both sides of the L to measure around 5.5 inches (14cm) long from end to bend.

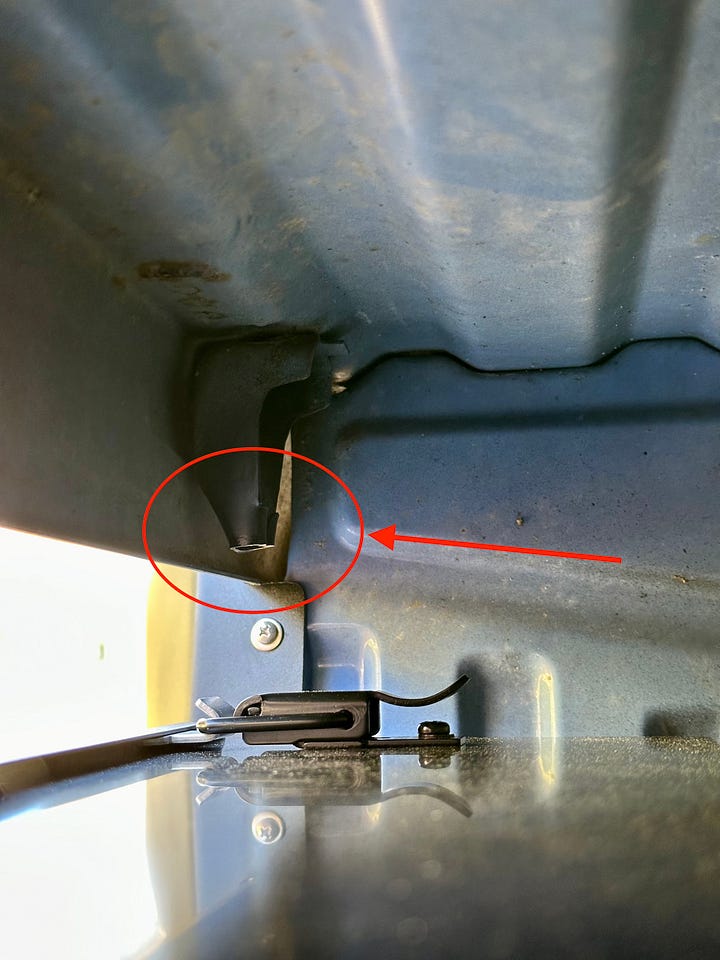
I recommend doing a dry fit by putting something under the box until it is at the proper height where it will be once mounted (make sure you are on level ground). You’ll notice that the box needs a tiny chunk to be cut out of the back.
Now that the box is in place, line up the brackets where they will go and mark on them where 2 holes should go into the frame metal. Drill out those holes on the brackets then come back and mark the frame where you need to drill for the rivet nuts to be inserted.
Make 2 holes in the frame for each bracket to connect to via rivet nuts. I made the 11mm holes with a step bit large enough for M8 rivet nuts then I used my rivnut tool to insert them.
Mount the brackets onto the vehicle and push the toolbox up against them so you can mark where the holes need to go on the box side of the brackets. Once you drill those out you can mount the box to the brackets.
Note: You might need to add washers or spacers to some of the holes between the box and the brackets to level it out and make it flush with the truck depending on where the bracket mounted onto the frame.
Now that everything is fitting properly we can remove the brackets and paint them to prevent corrosion.
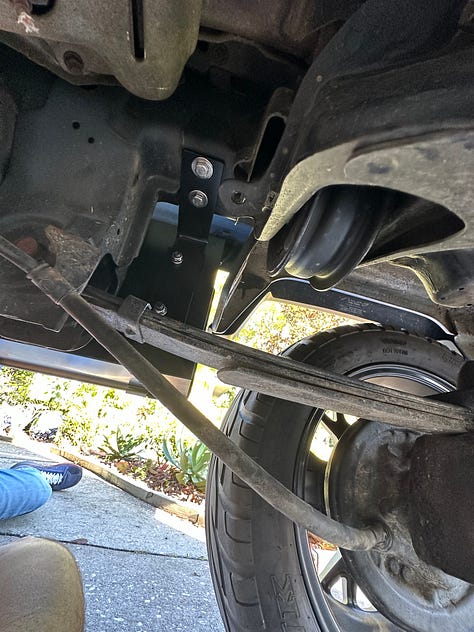


You’ll notice on the images above that the bracket that is closer to the tire has off-center holes behind the box. This is due to the limitations of where we can mount the bracket on the frame.
That’s it - Now it should just be a matter of putting everything back on the truck after the brackets finish drying.
Finished Product


